
Workspaces
A workspace holds the shared context for your lab's research. Choose the right workspace before creating a study or changing configuration. You need an account; joining someone else's workspace also requires their invitation or existing membership.
Create or select a workspace
- In onboarding, open the Laboratory step. Existing memberships appear as choices.
- Select your lab, or choose Create a new workspace.
- For a new workspace, enter its name and URL. Review the card prefix used for study identifiers; you can enter a prefix explicitly.
- Select the laboratory configuration and continue through the setup steps.
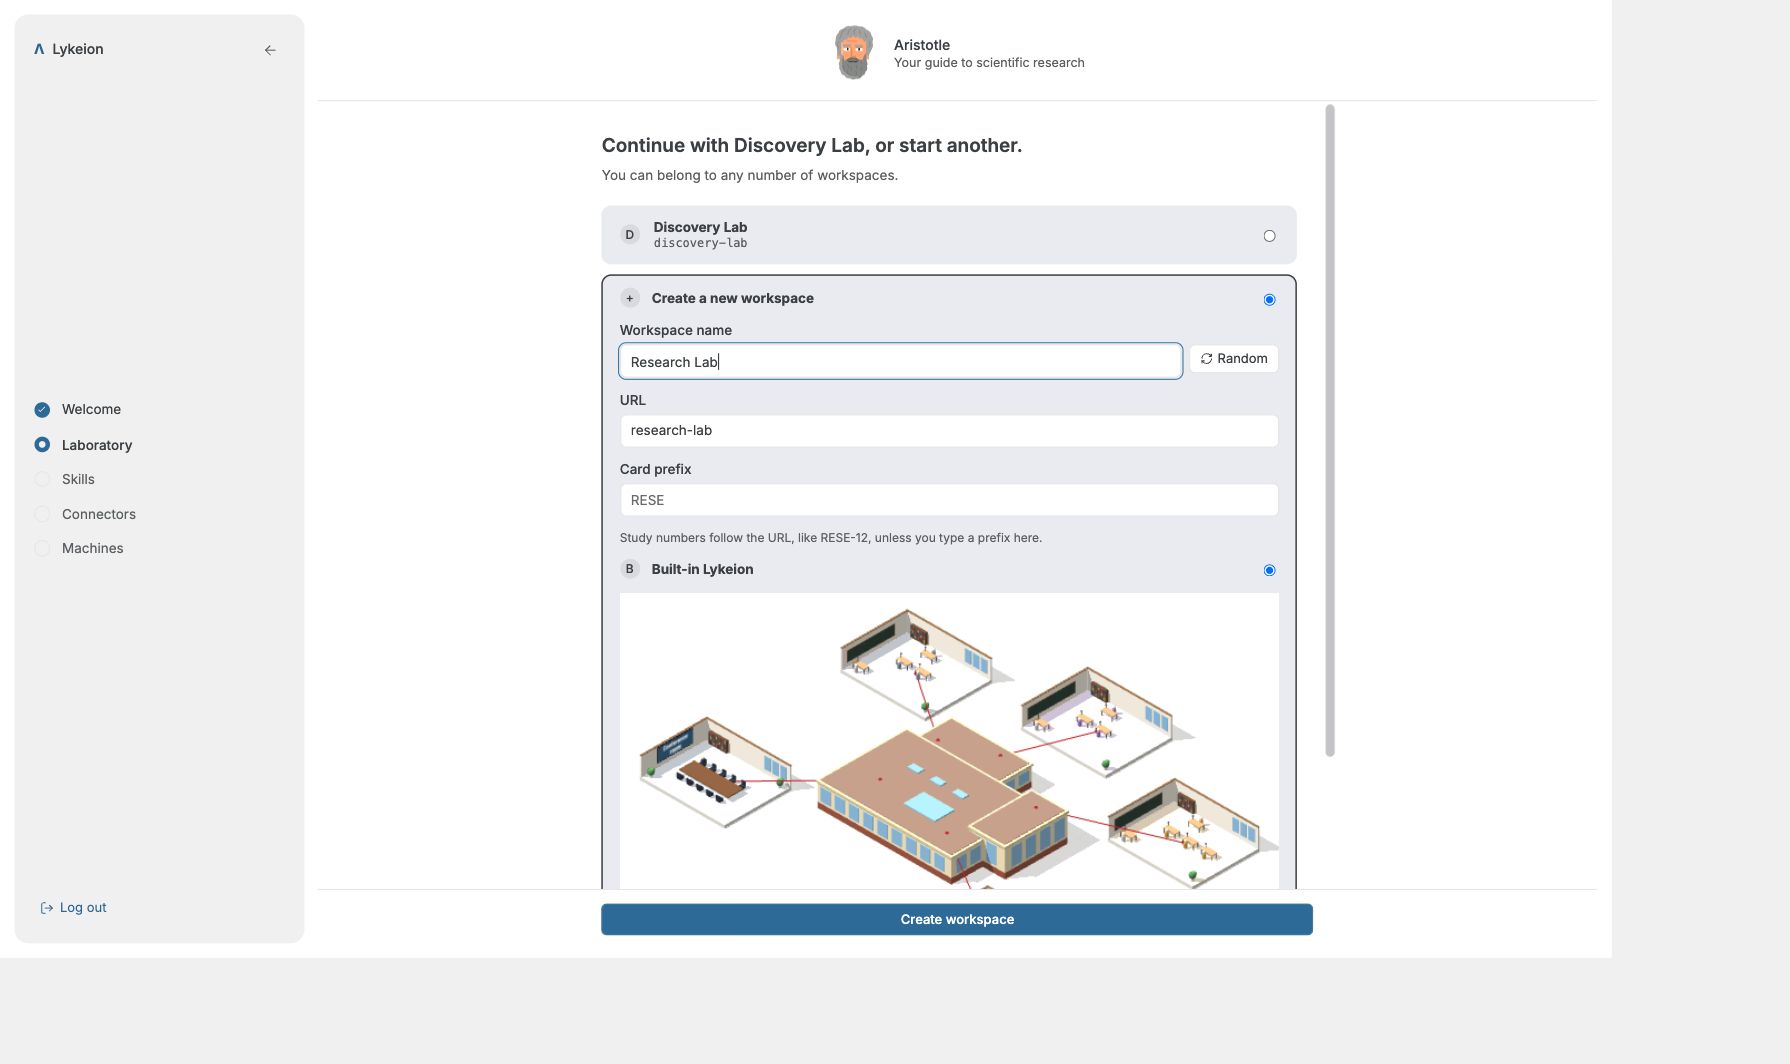
Confirm the workspace name in the dashboard before continuing. The example capture is a draft form; it does not show a second workspace being created.
Manage workspace details
Open Settings and the workspace's General section to inspect its details. Administrative controls depend on your role. Ask an owner or admin to make changes when you do not have the required access. See members and roles.
Skills and Connectors are configured in their own workspace settings sections. A connected machine is execution infrastructure; creating a workspace does not automatically install or authenticate agent CLIs on your computer.
When something is missing
If expected studies or colleagues are absent, check the selected workspace and account first. Do not create a duplicate workspace to recover access. Ask the lab's administrator to confirm your membership.